After reading about CDN_Stalker fixing some GBB mags I did a few of mine and then did about 10+ for Duckman. All seem to be holding fine and operate normally without the previous leaking issues.
The thread is for Silverthorn as I mentioned in his thread how to do it. Well I'm finally posting it for you bro!!

---------------------
Well, it's super easy to do. This will only work if it is the main seal that is the issue.
All you need are some basic tools and a tube of Blue Gasket Maker from Canadian Tire which can be had for about $6-7.
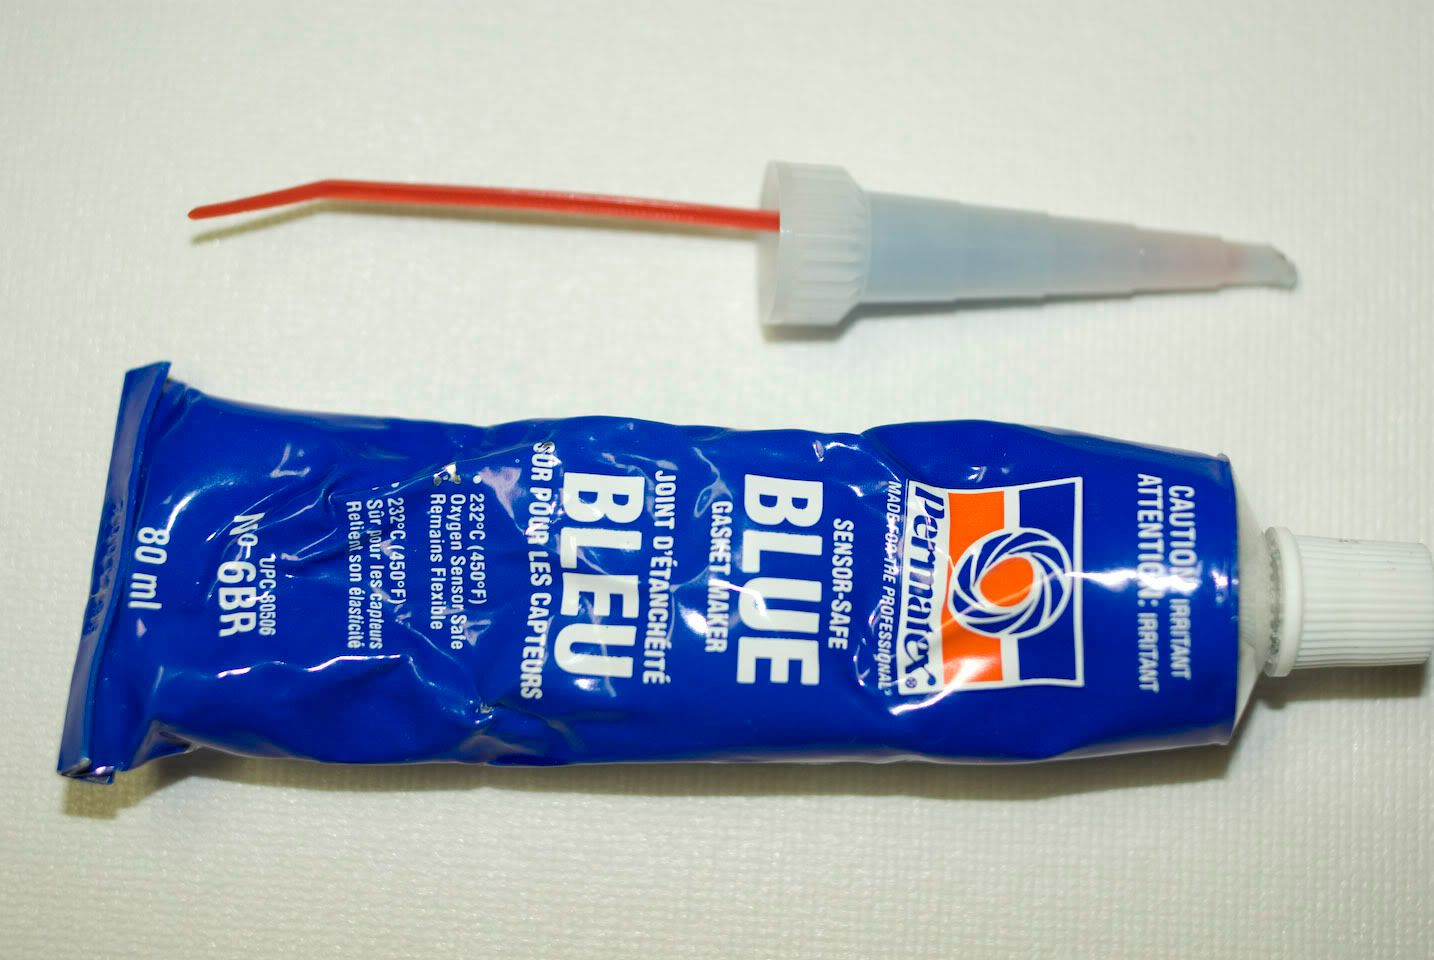
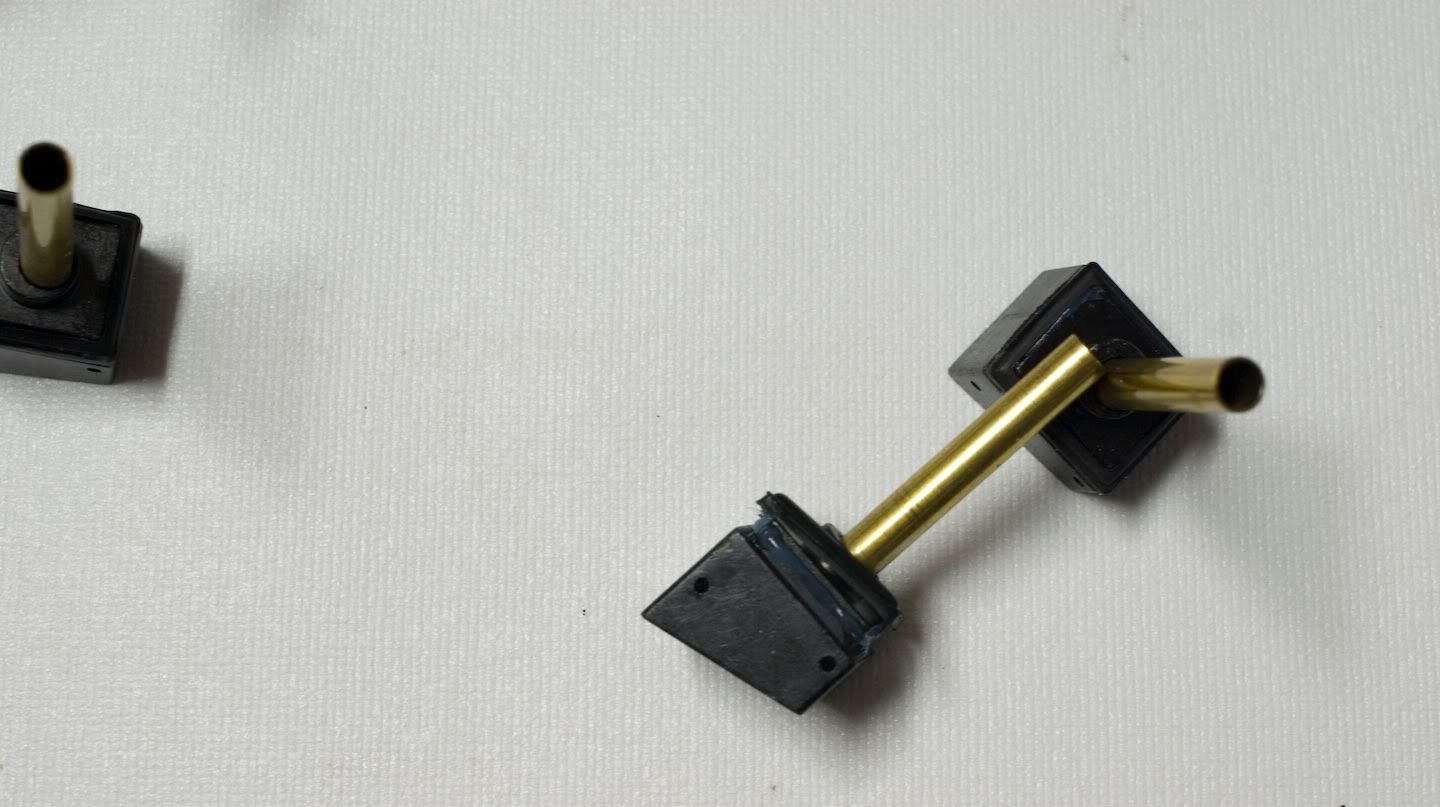
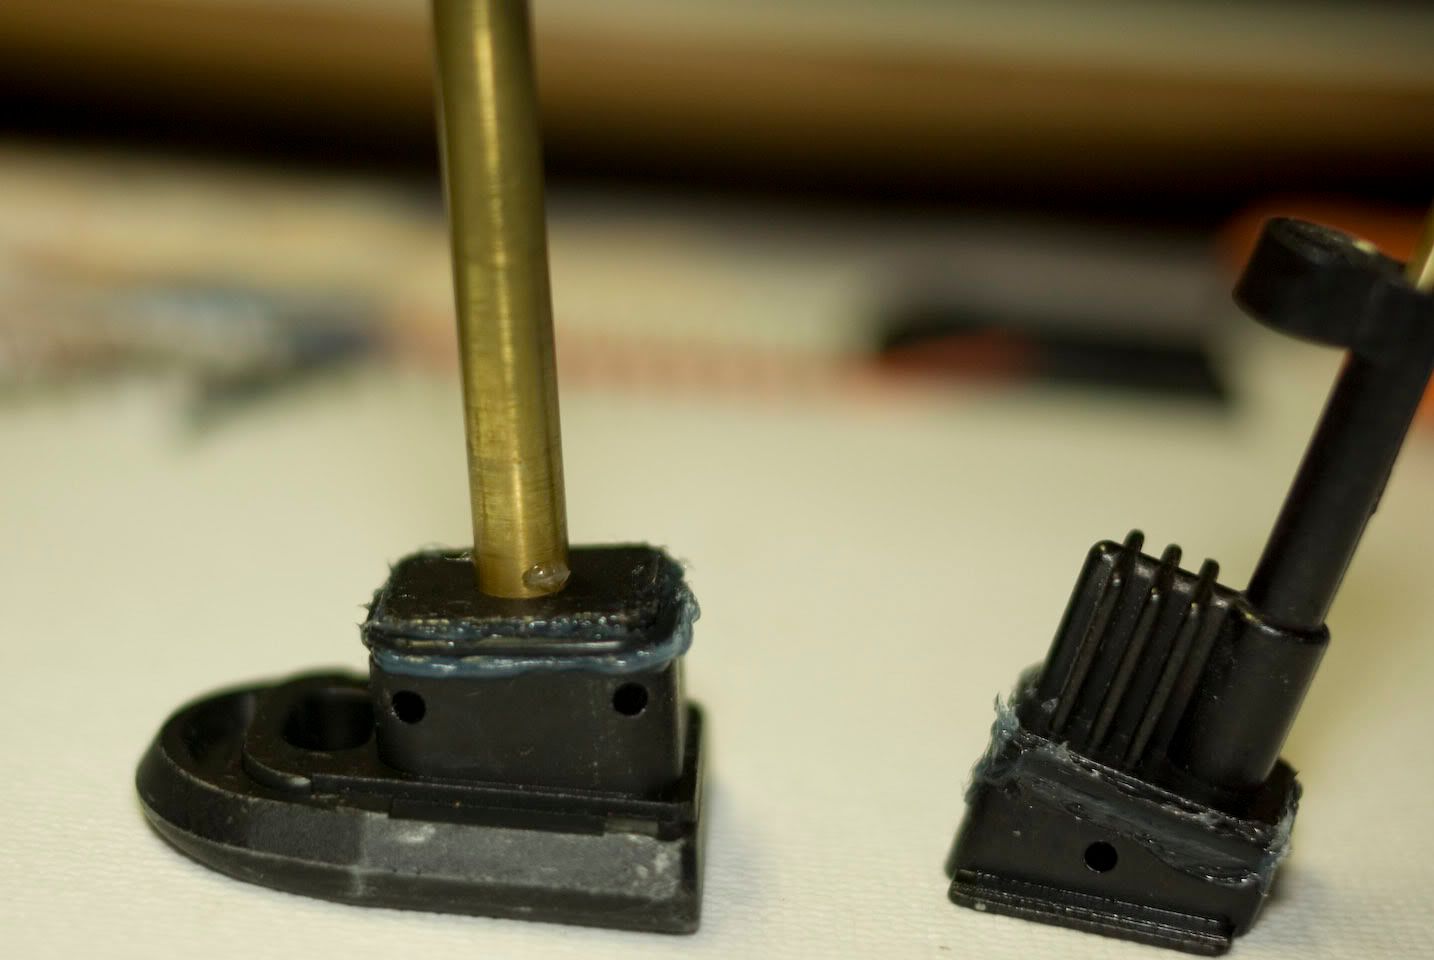
*Note that I stuck an old zip tie in the extension tube. when it dries, the material can easily be pulled out and then you don't loose your nice nozzle/tip.
***DISCLAIMER***
Since the second batch of mags I had to work on are primarily KSC socom mags (heavyweight), I managed to set up my camera to take these pictures. This DIY will work with other mags but I will not guarantee 100% effectiveness as all mags are similar but will have their obvious differences. I have done the same procedure for a WE p14, Maruzen p99 and a WA cougar. It also will work for the TM MK23 Socom mags but I would suggest removing the safety valve, JB weld the hold and then follow the procedure below.
KSC MK23 Socom mags:
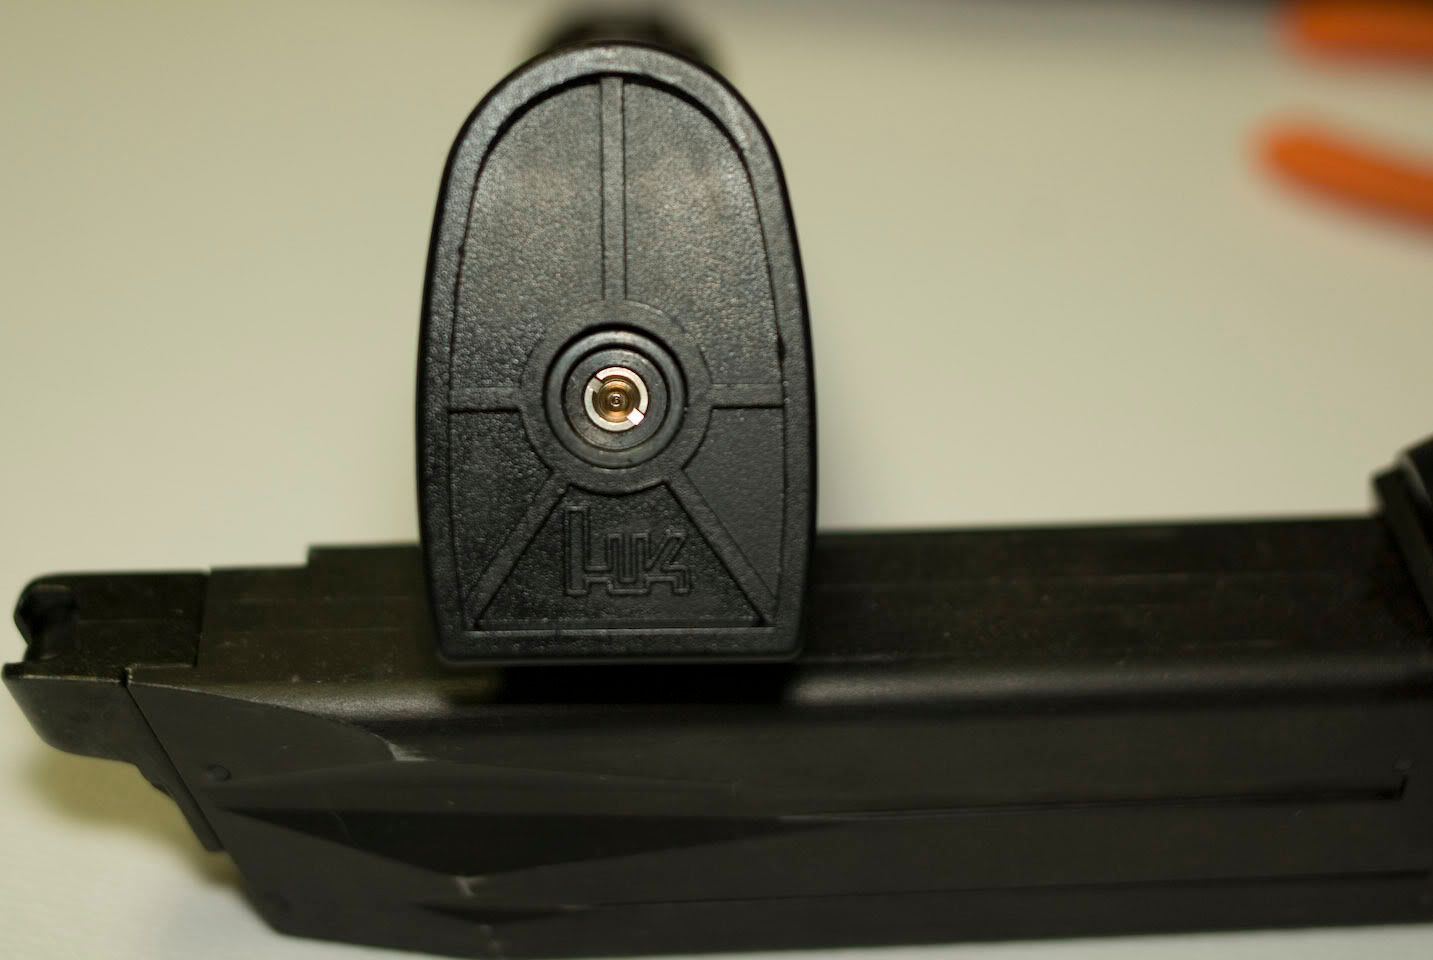
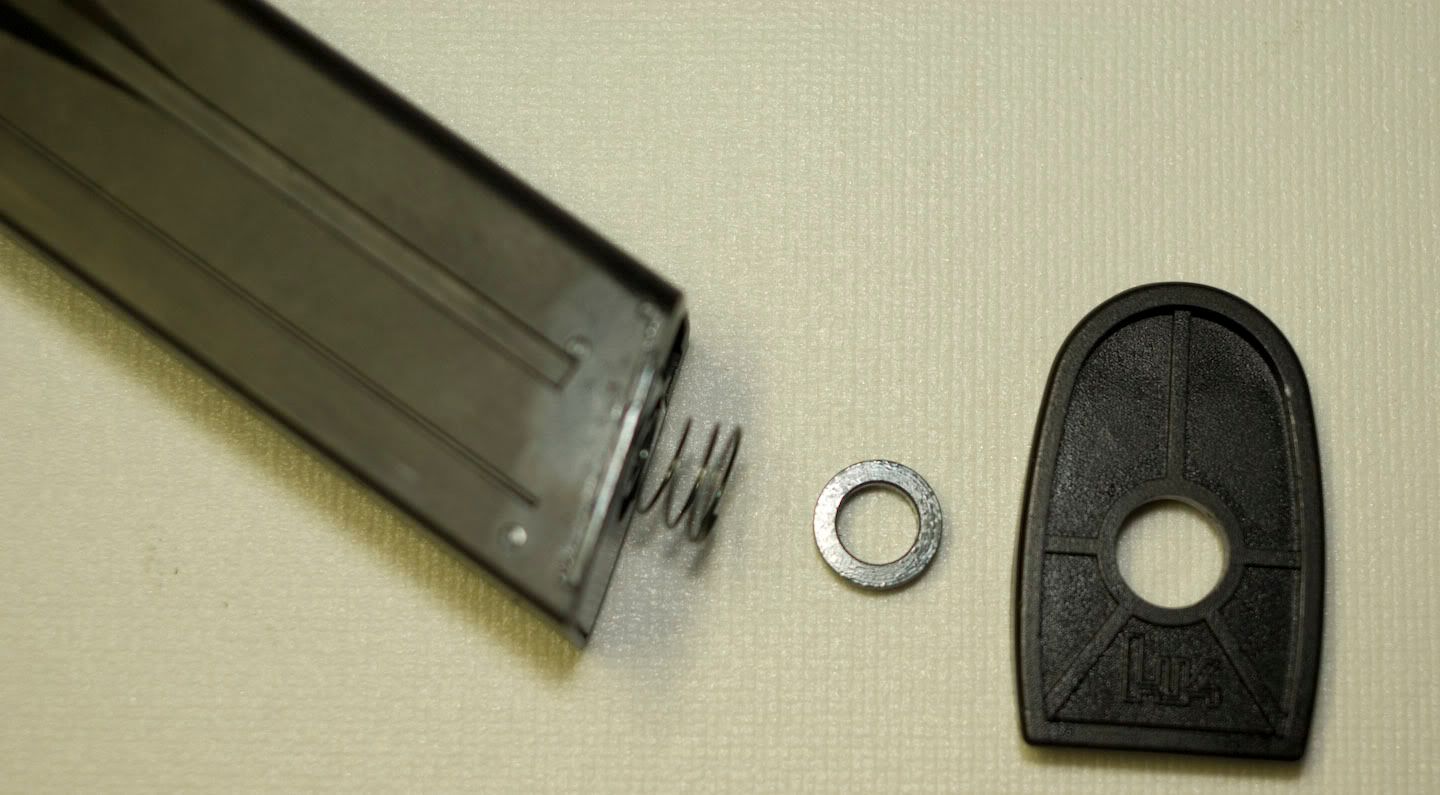
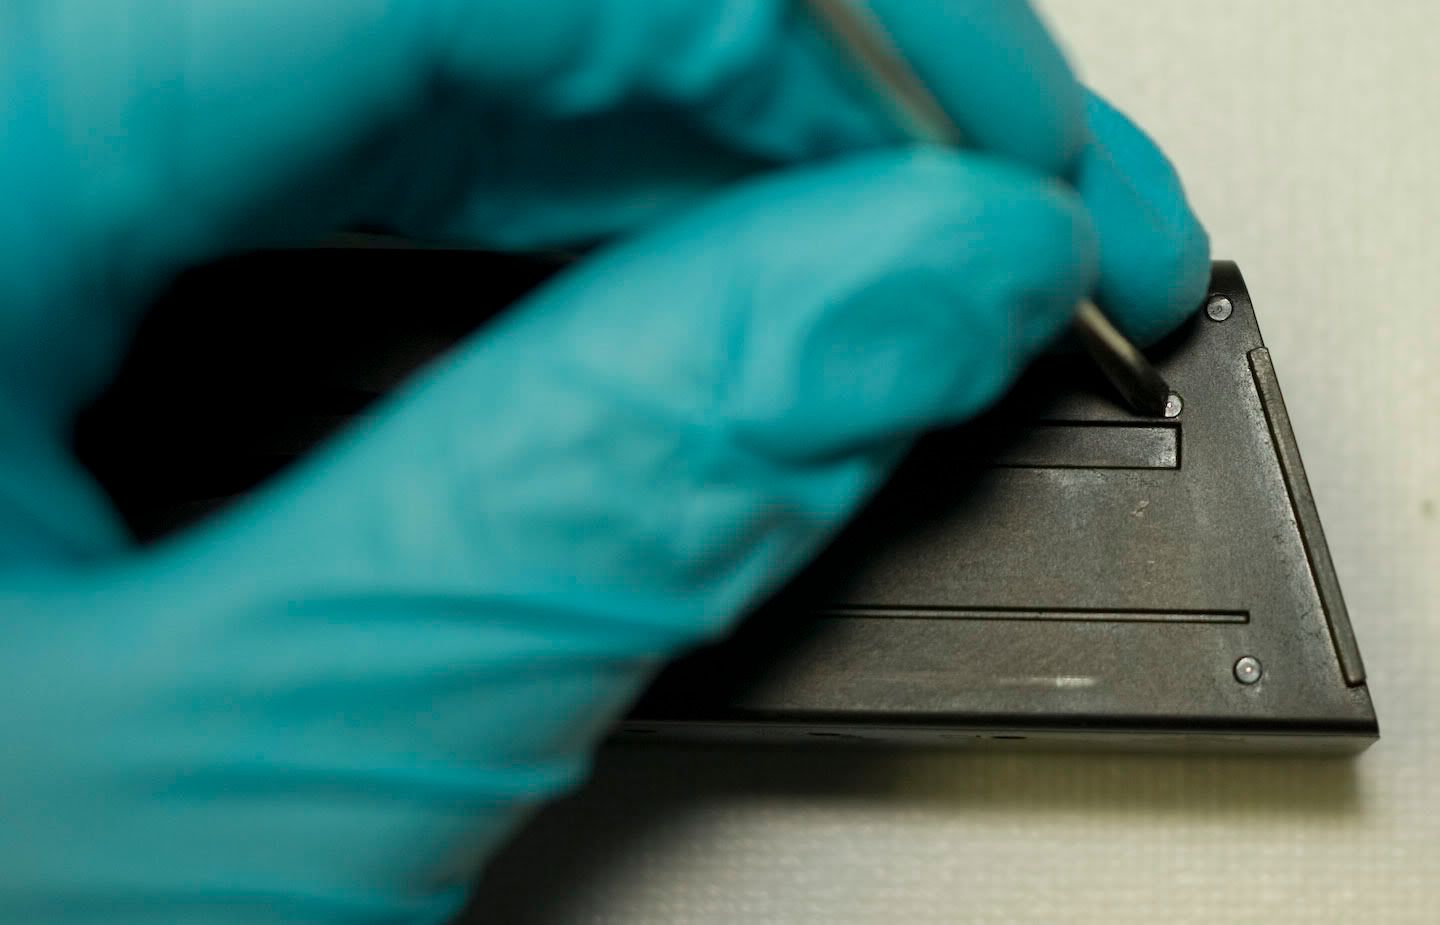
1. First off vent out all the gas in the mag then disassemble it by pressing the inner ring and sliding the bottom plate off. Beware that there is a spring inside that will likely fly off (not typical for all mags)
2. Punch out the pins (some mags are held on with a Phillips screw)
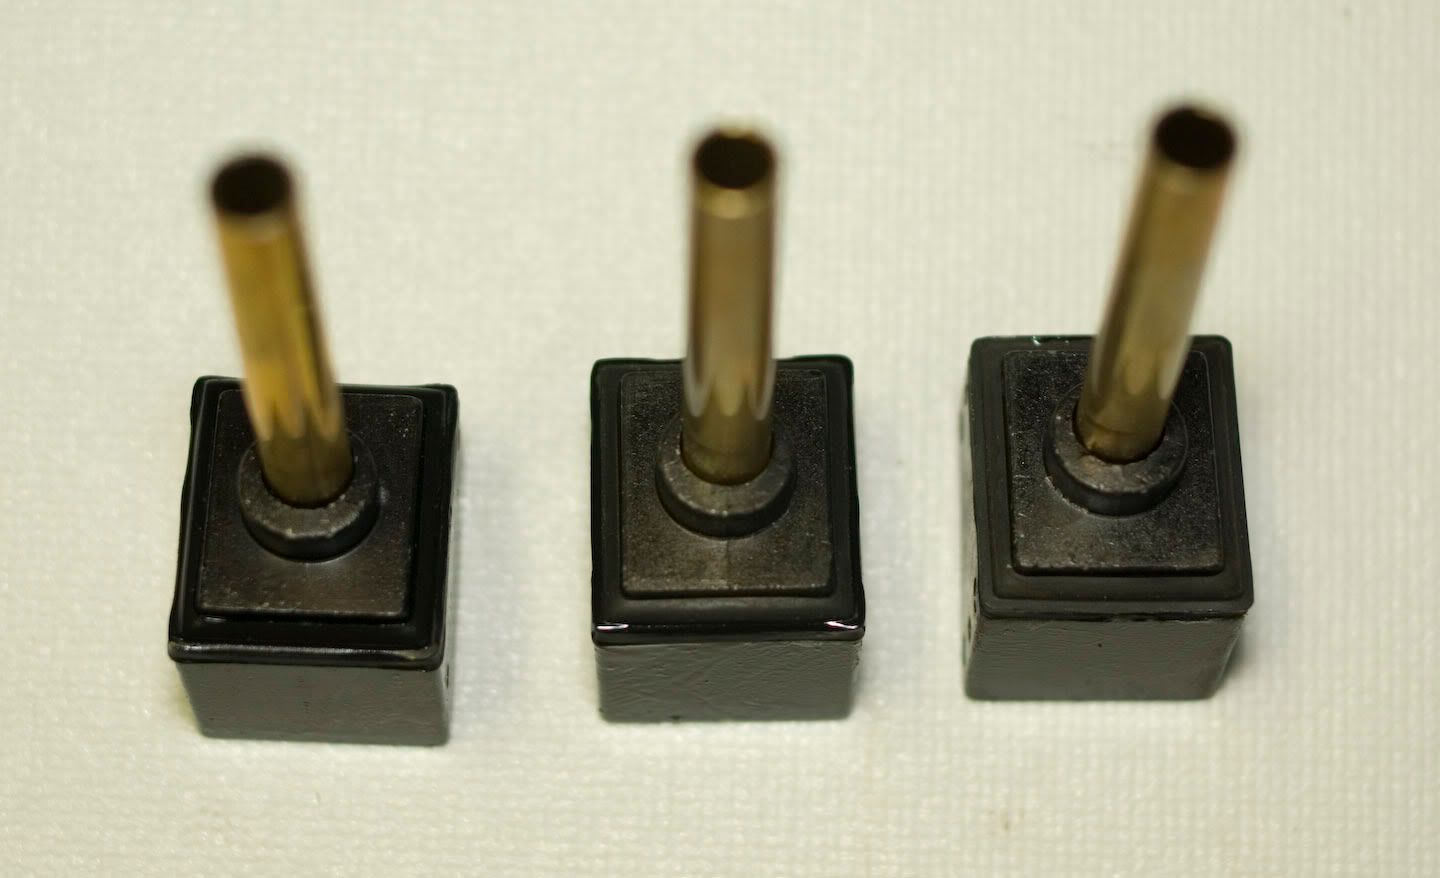
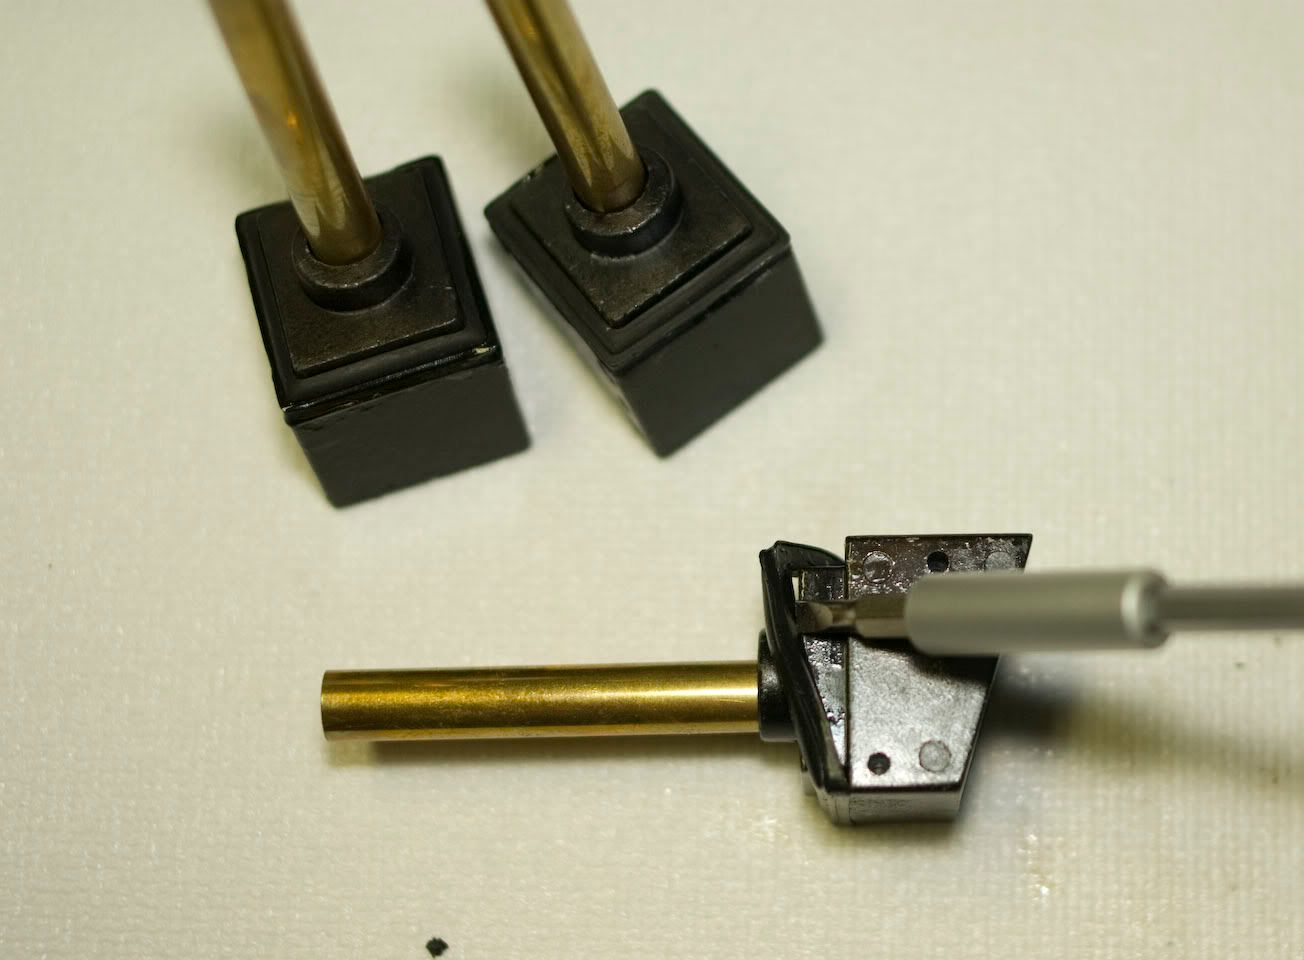
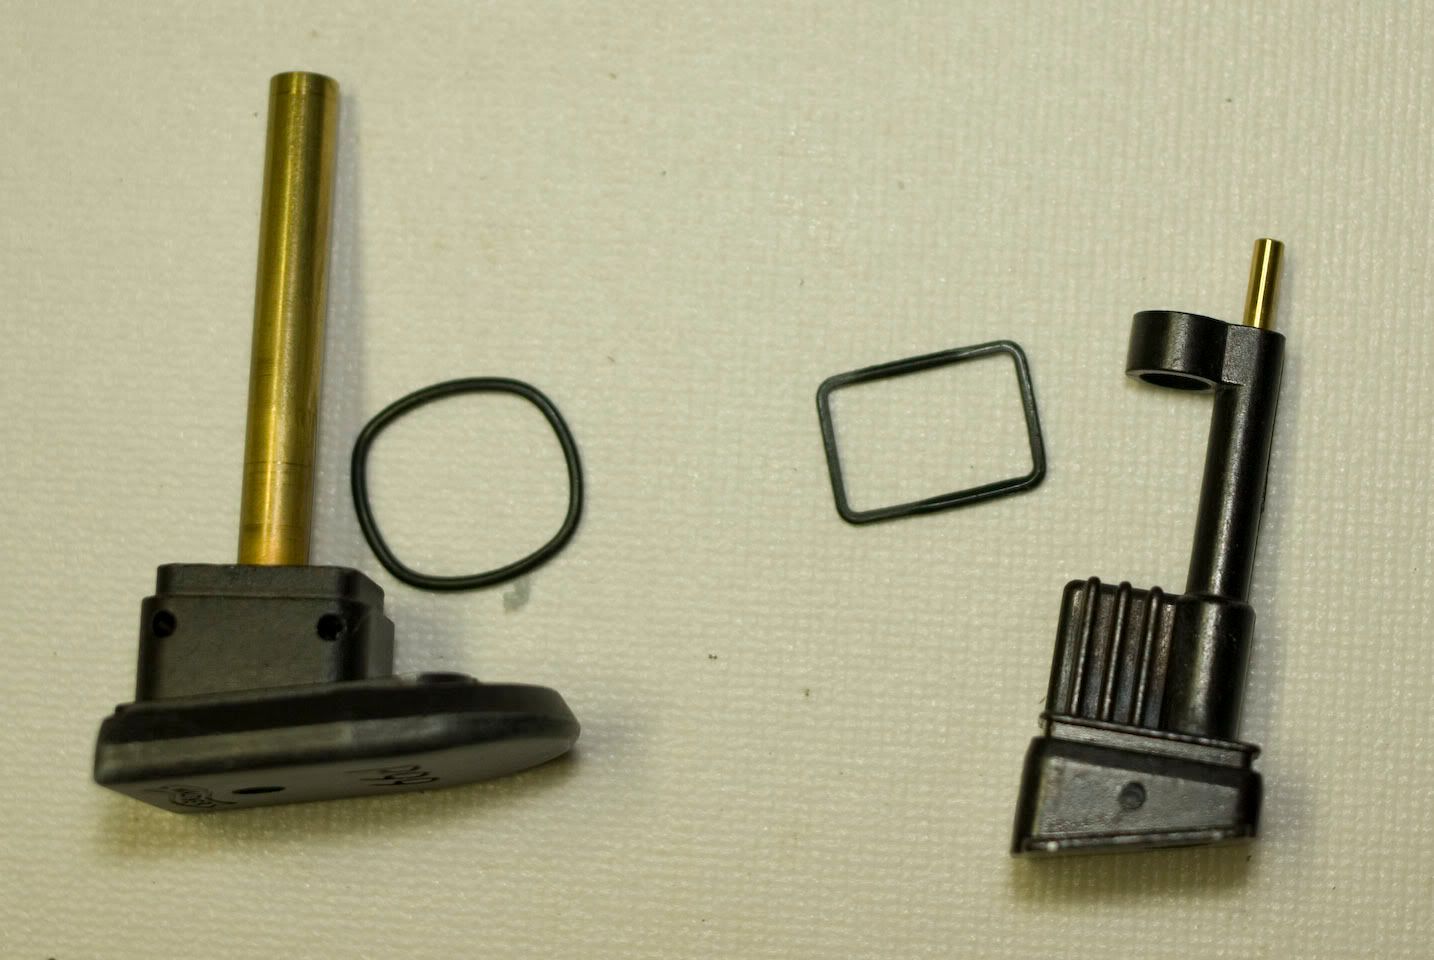
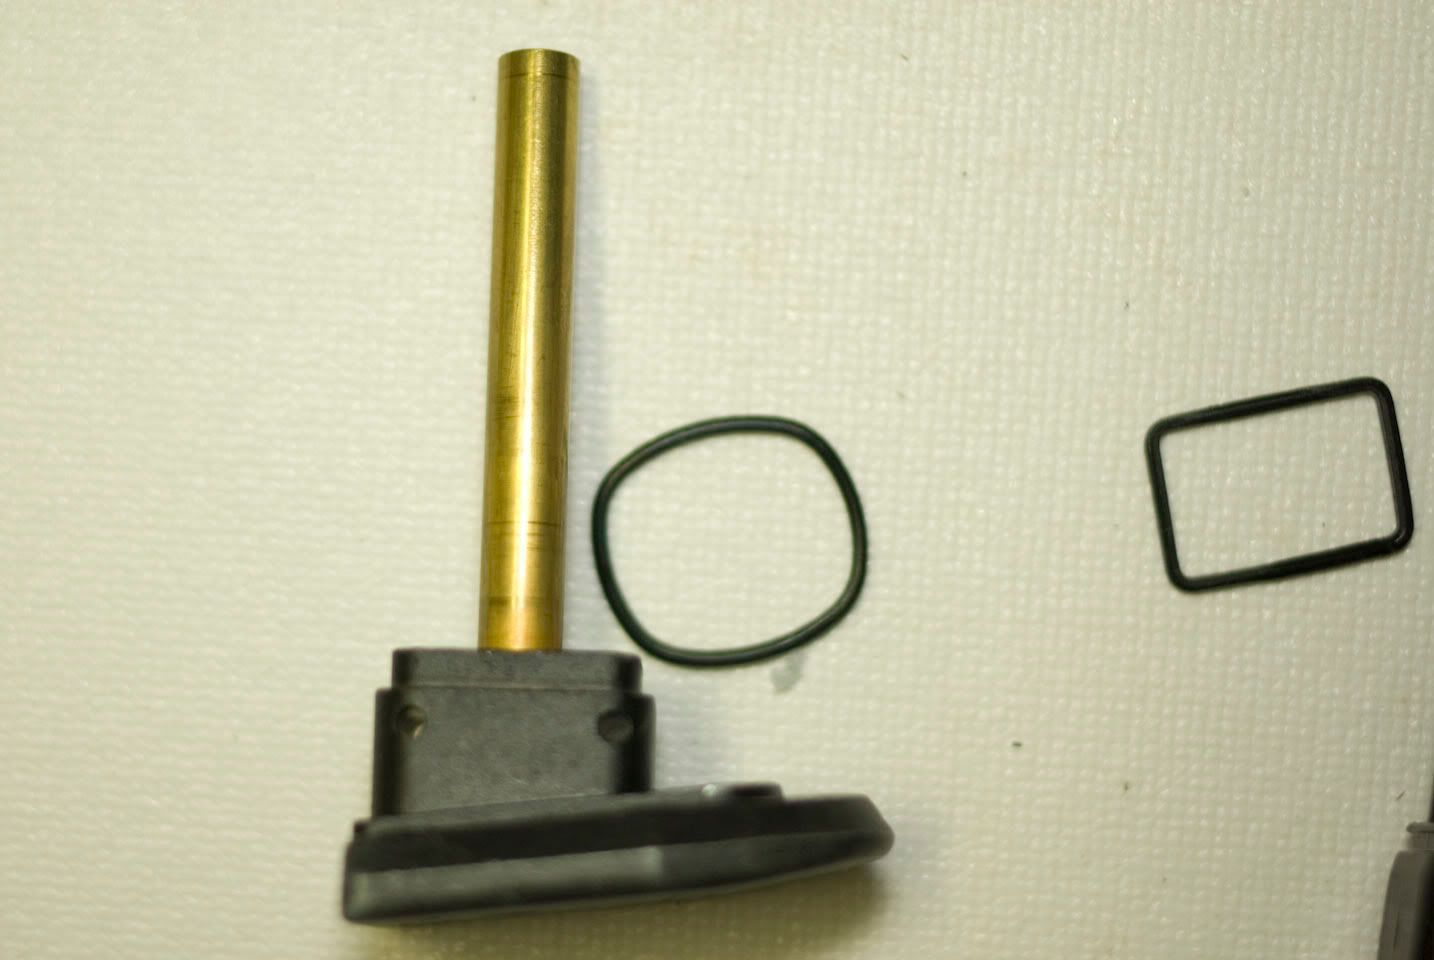
3. Remove the bottom piece (can't think of what it might be called) You might need a pair of pliers or a flat head to coax it out.
4. Carefully remove and inspect the main seal. It should be intact. If you haven't tried giving it a silly oil bath try this now as that can solve the problem in most cases. Oddly, the socom seals blew up to about 4-5mm bigger than what would fit so a silly bath wouldn't work. Fortunately, after drying them and letting them sit, they regained their shape and size. My method is to reuse the original piece so if it is damaged, I am uncertain as to how well this fix is.
5. Clean all areas to remove any remains of silly oil and grim that has accumulated over the years. Duckman happened to dump a ton of oil in some of his mags trying to bring the main seal back to life. Oil everywhere including my bedroom floor!
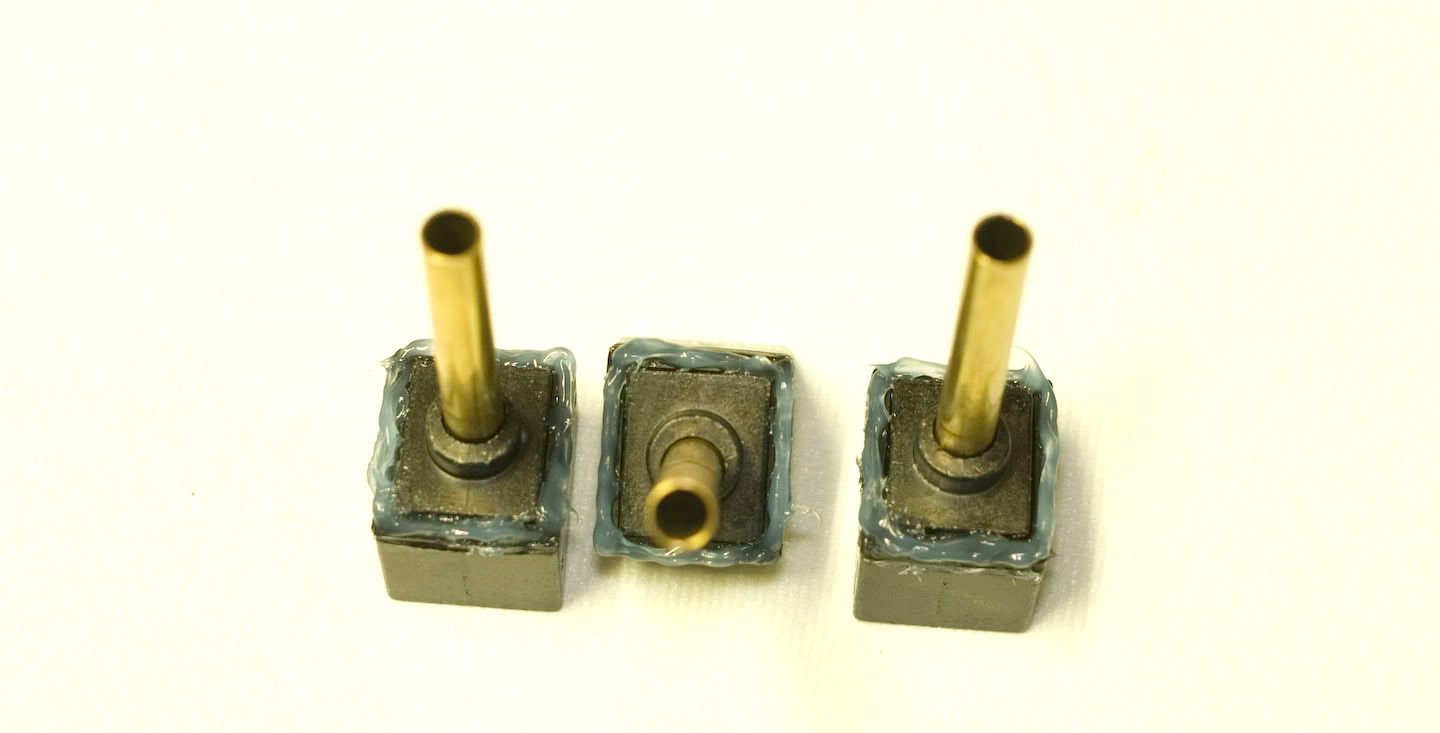
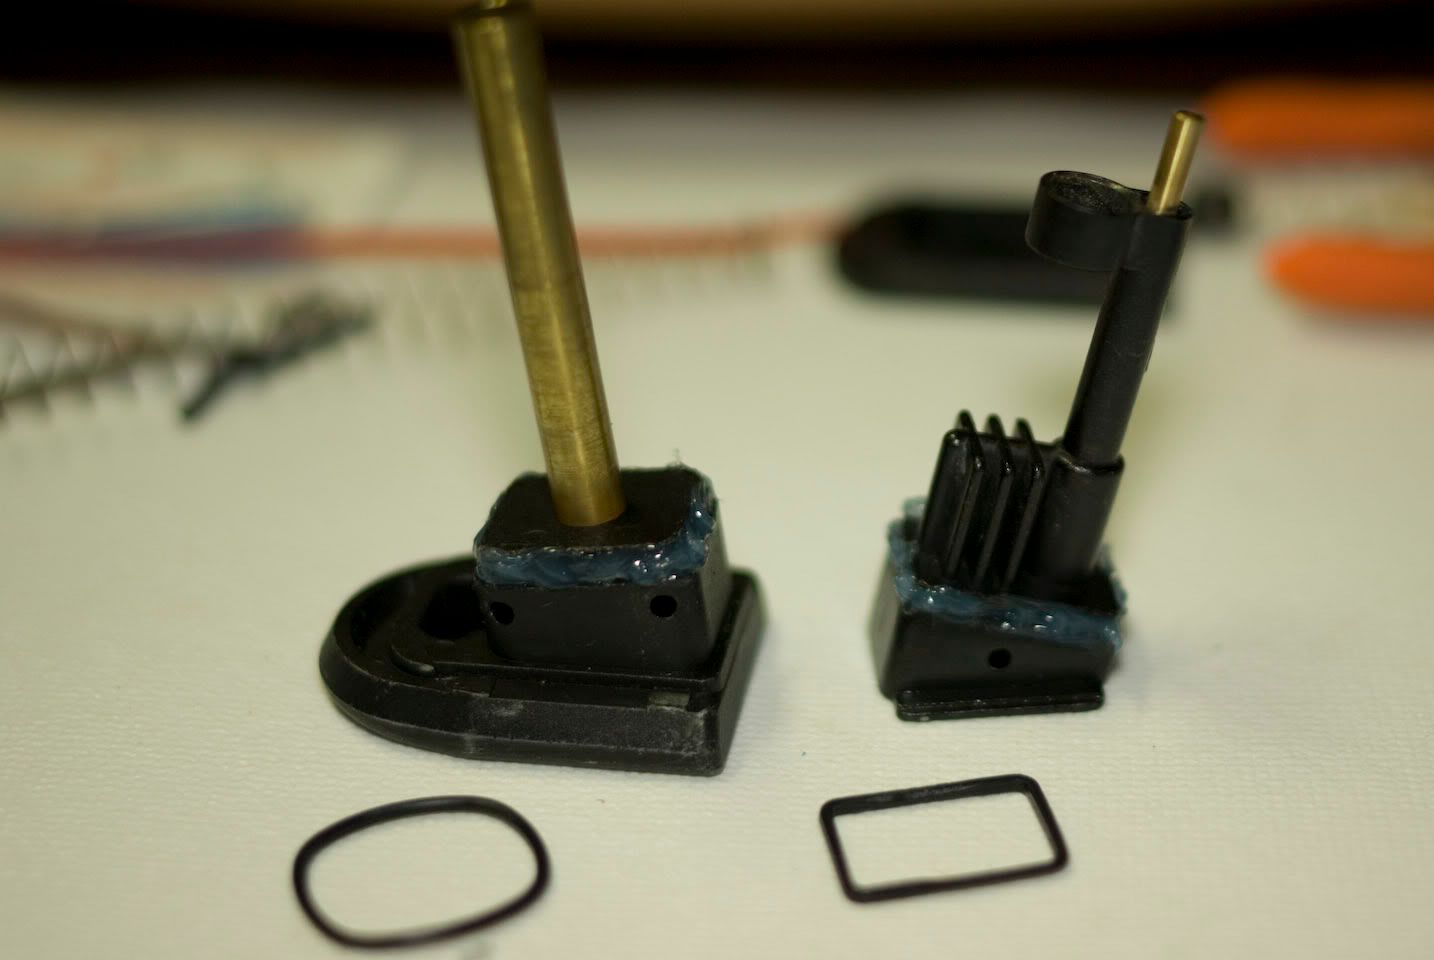
6. Run a bead of the Blue Gasket Maker around the spot where the main seal sat. Clearly, it doesn't have to look pretty.
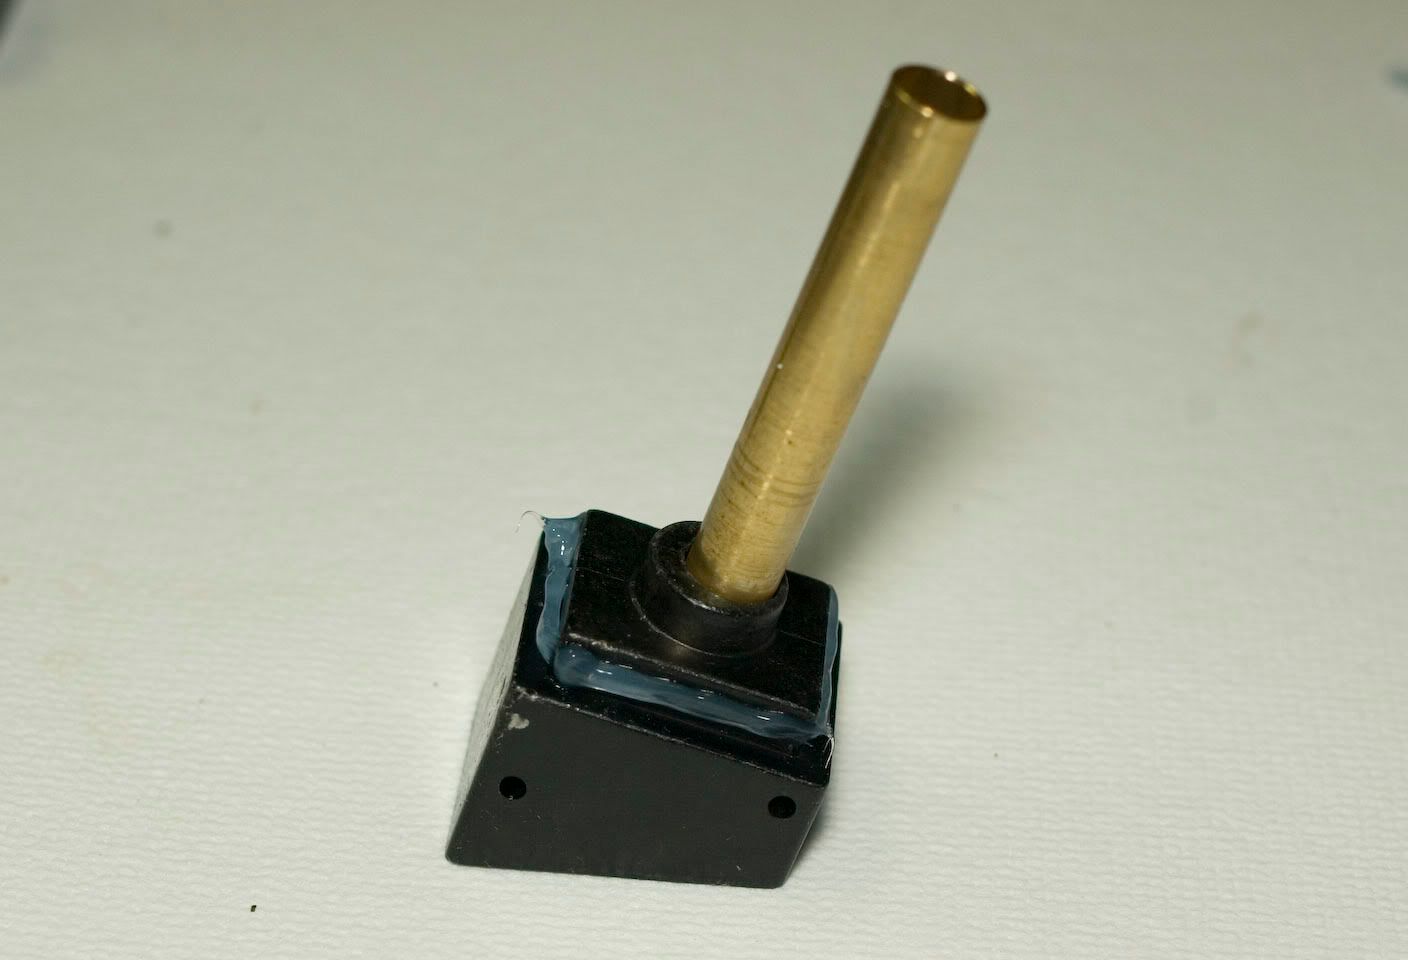
7. Reinstall the main seal. Let the gasket maker squish out. Just clean up any excessive amount with a piece of cardboard, toothpick or something. Be creative. Then run another bead of it on top of the seal. I messed up a bit on that pic as it should be more on the side so that it contacts the side of the mag more.
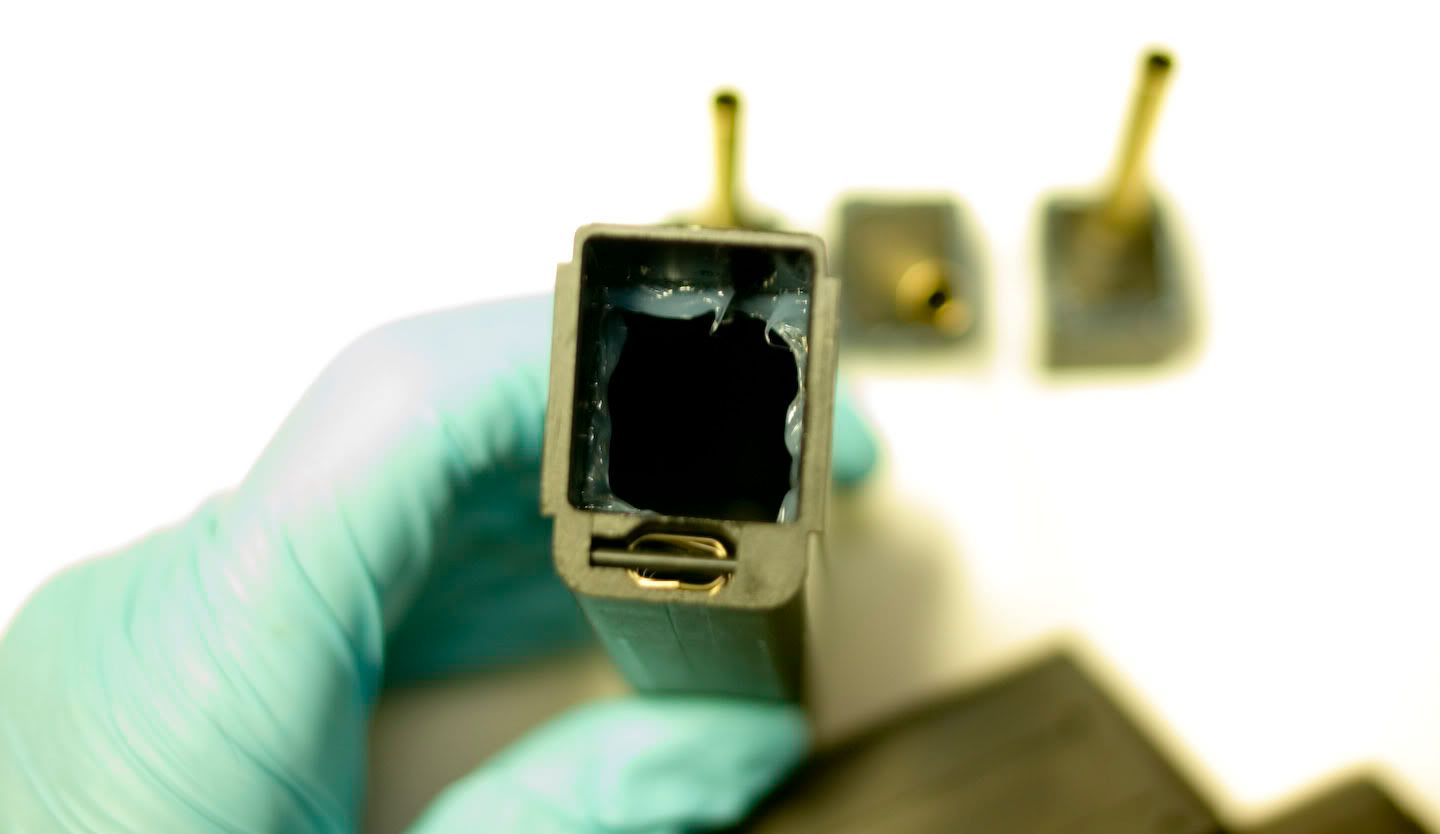
8. Inspect the inside of the mag and clean it of any oils as well.
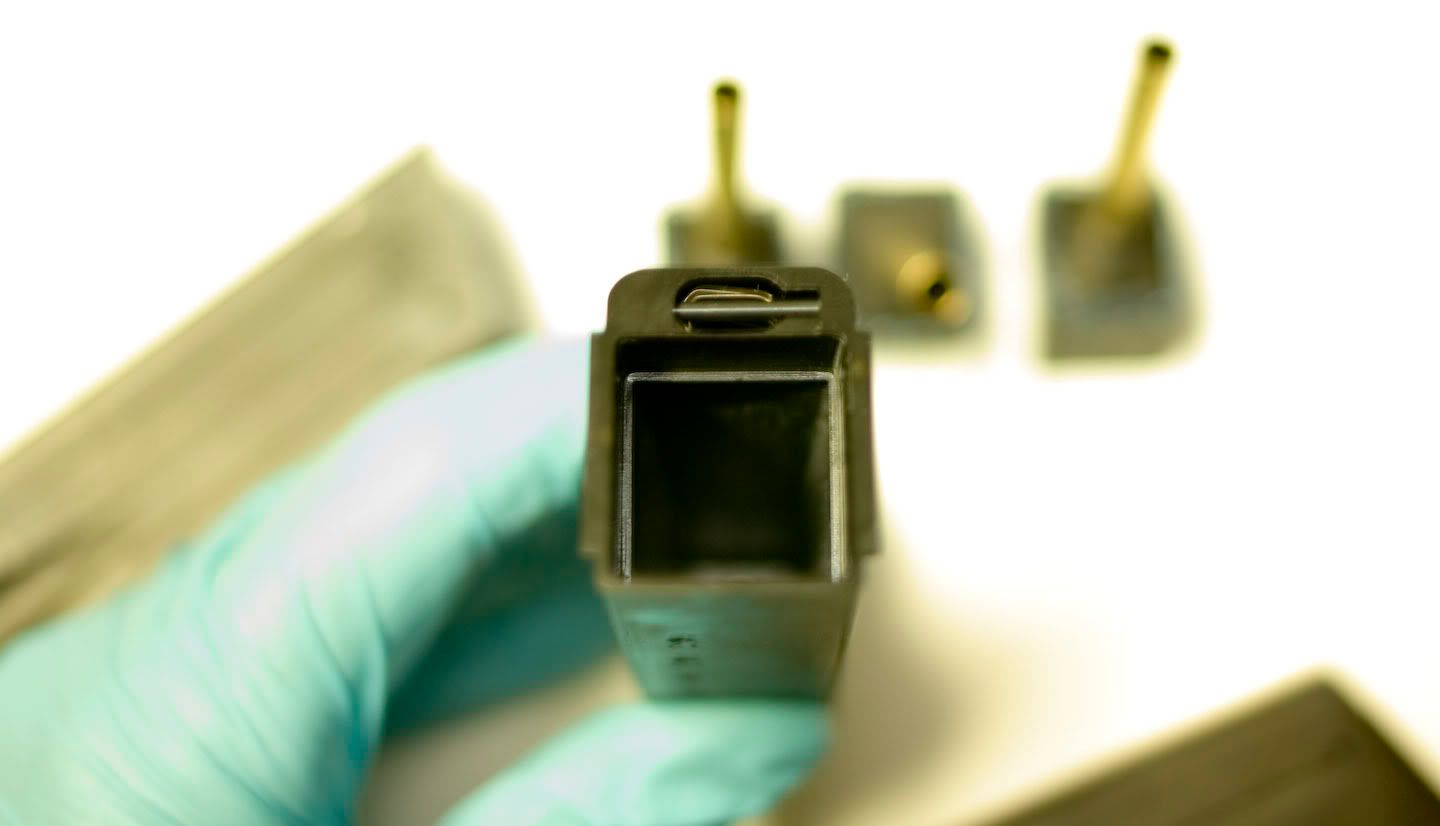
9. Run a small bead of the gasket maker around the lip. I try to place the bead in such a way that when the bottom piece is inserted that not too much finds it's way into the main reservoir.
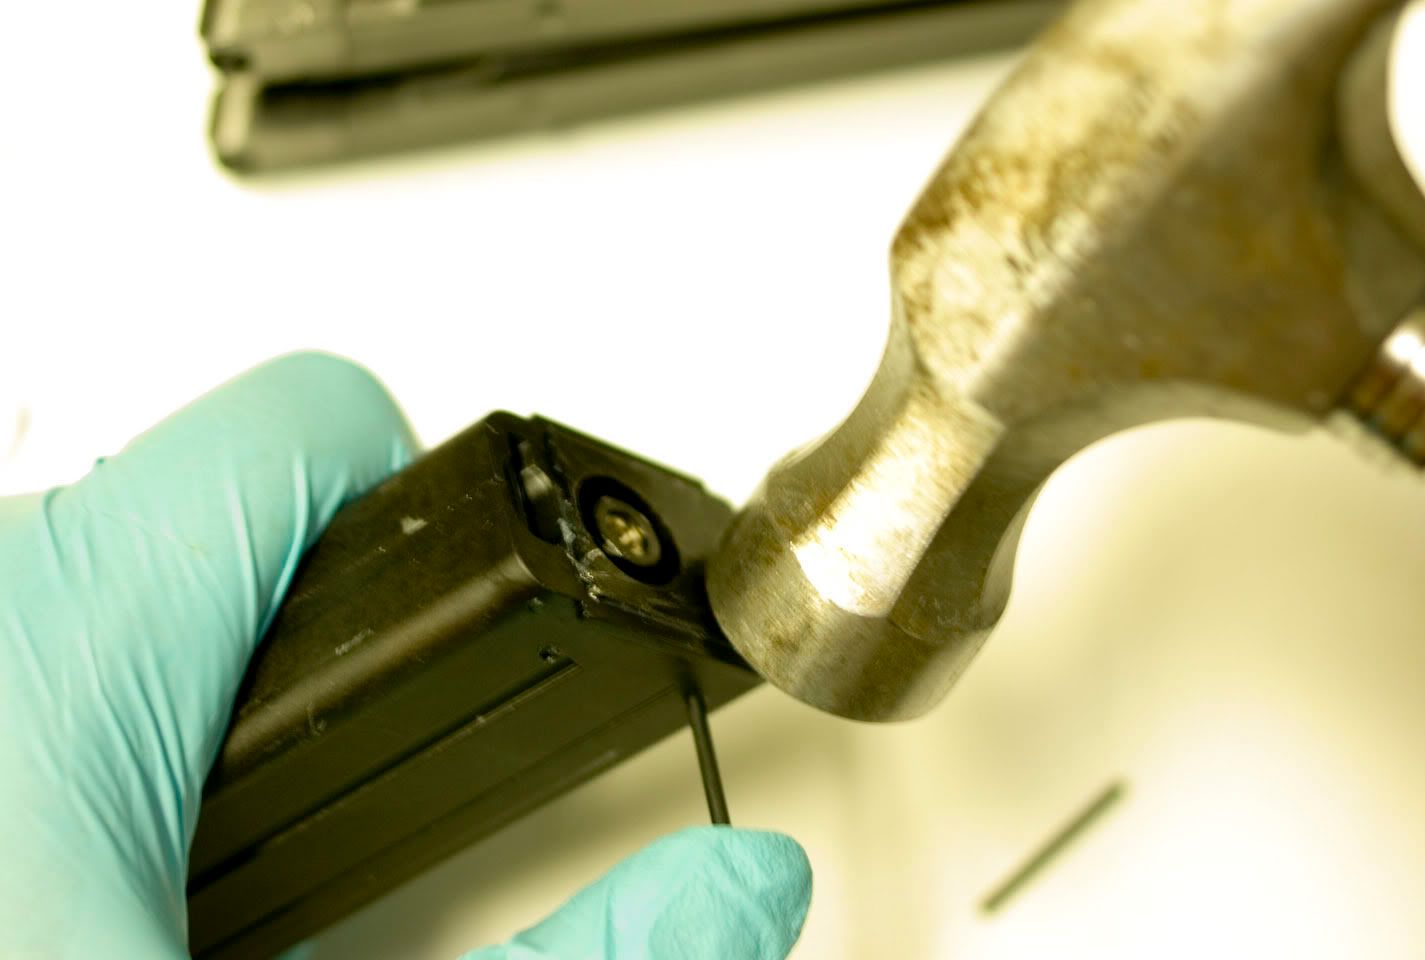
10. Reinsert the bottom piece. You may find that it won't go all the way in. Press the flow valve button. You can sometimes create a little bit of pressure inside which is a good sign. I also use a hammer to tap it into place.

11. Reinsert retaining pins.
12. You're almost done.
DO NOT PRESSURIZE YOUR MAGS AT THIS POINT! YOU MUST LET THEM CURE FOR 24 HOURS!
This is where I differ a bit from CDN_Stalker. I will give my mags less than a 1/2 second burst of gas. I feel that this helps indicate if you got a leak still before it cures. But, if you get too much inside, it will vaporizer and become a huge mess when you shoot your gun. Once cured, gas it up and
fully vent your mag, all at once, outside of your gun. Do not insert into a gun until you've done this at least once. I fully gas them up and vent them twice to ensure there are no little bits floating around. I will do it a third or forth time if stuff comes out.
13. Now you're done. Gas and load them up and go shoot some friends!
Here are some pictures of the same job on the p99 and cougar mags:

If people still don't want to do this themselves, I guess I could do it for like $10. You'd have to pay return shipping so consider the cost before PM'ing me requesting for GBB mag repairs!
Locals are more than welcome to ask though.